ARTIGOTUTORIAL
How I stopped teaching AI to edit my reels every time
The skill workflow that writes the script, cuts, animates and assembles my reels in Claude Code, and how you install it and make it your own.
Every time I asked an AI to edit one of my reels, I explained the whole process again. And even with the explanation, it changed the style from one video to the next, because there was no defined workflow. So I stopped teaching the same thing every time: I turned each step of the edit into a skill.
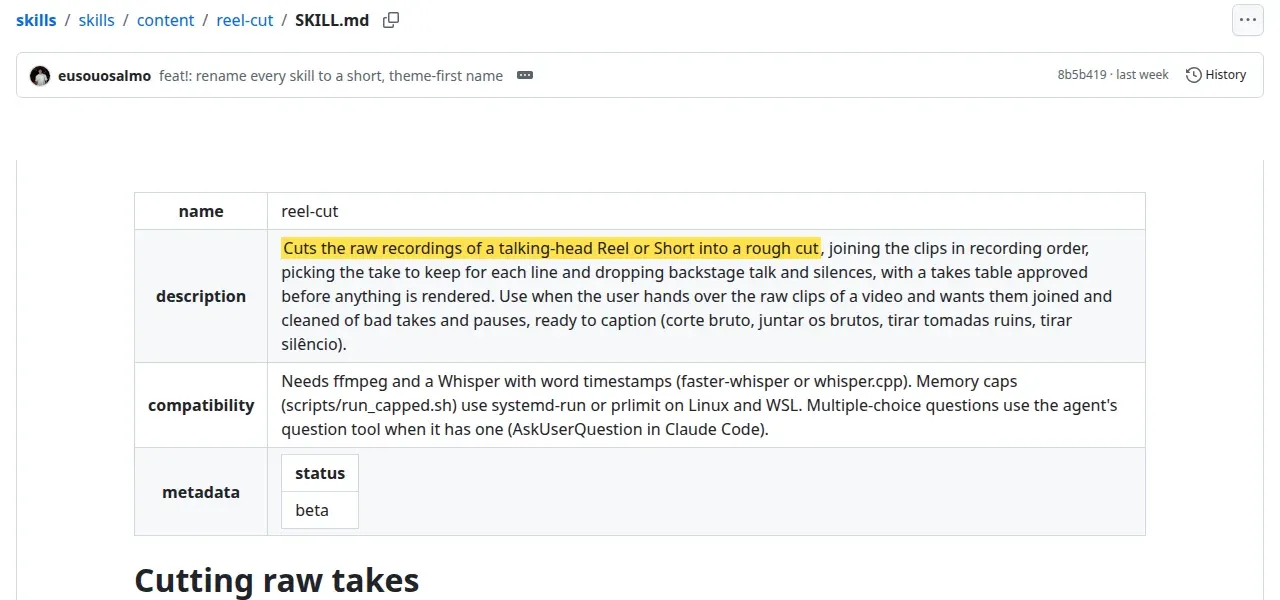
A skill is a file of instructions you install in the AI agent. The agent reads the skill on its own when your request matches it and follows the process written there, instead of inventing a new one for every video. You teach it once.
Inside, a skill is text. The description at the top tells the agent when to use the skill, and the rest is the process, step by step:
The reel skills run in Claude Code, which also lives inside the Claude desktop app, in the Code tab. The regular chat can’t run them, because they use programs and files on your computer.
These are the skills, in the order they come into a reel:
| Skill | What it does | What you approve |
|---|---|---|
reel-script |
Writes the script from your notes, with a hook, one closing call to action and the teleprompter text timed | the script, before recording |
reel-cut |
Joins the recordings, picks the best take of each line and removes the pauses | the takes table, before the cut |
reel-motion |
Decides which parts become animation and builds the scenes timed to each word | the plan and the still frames, before rendering |
reel-finish |
Assembles the reel as a CapCut project or as a finished mp4, in the style of one of your projects | the assembled reel |
post-caption |
Writes the post caption | the caption |
reel-edit |
Runs cut, animation and finishing in order, without you calling each one | each step, before the next |
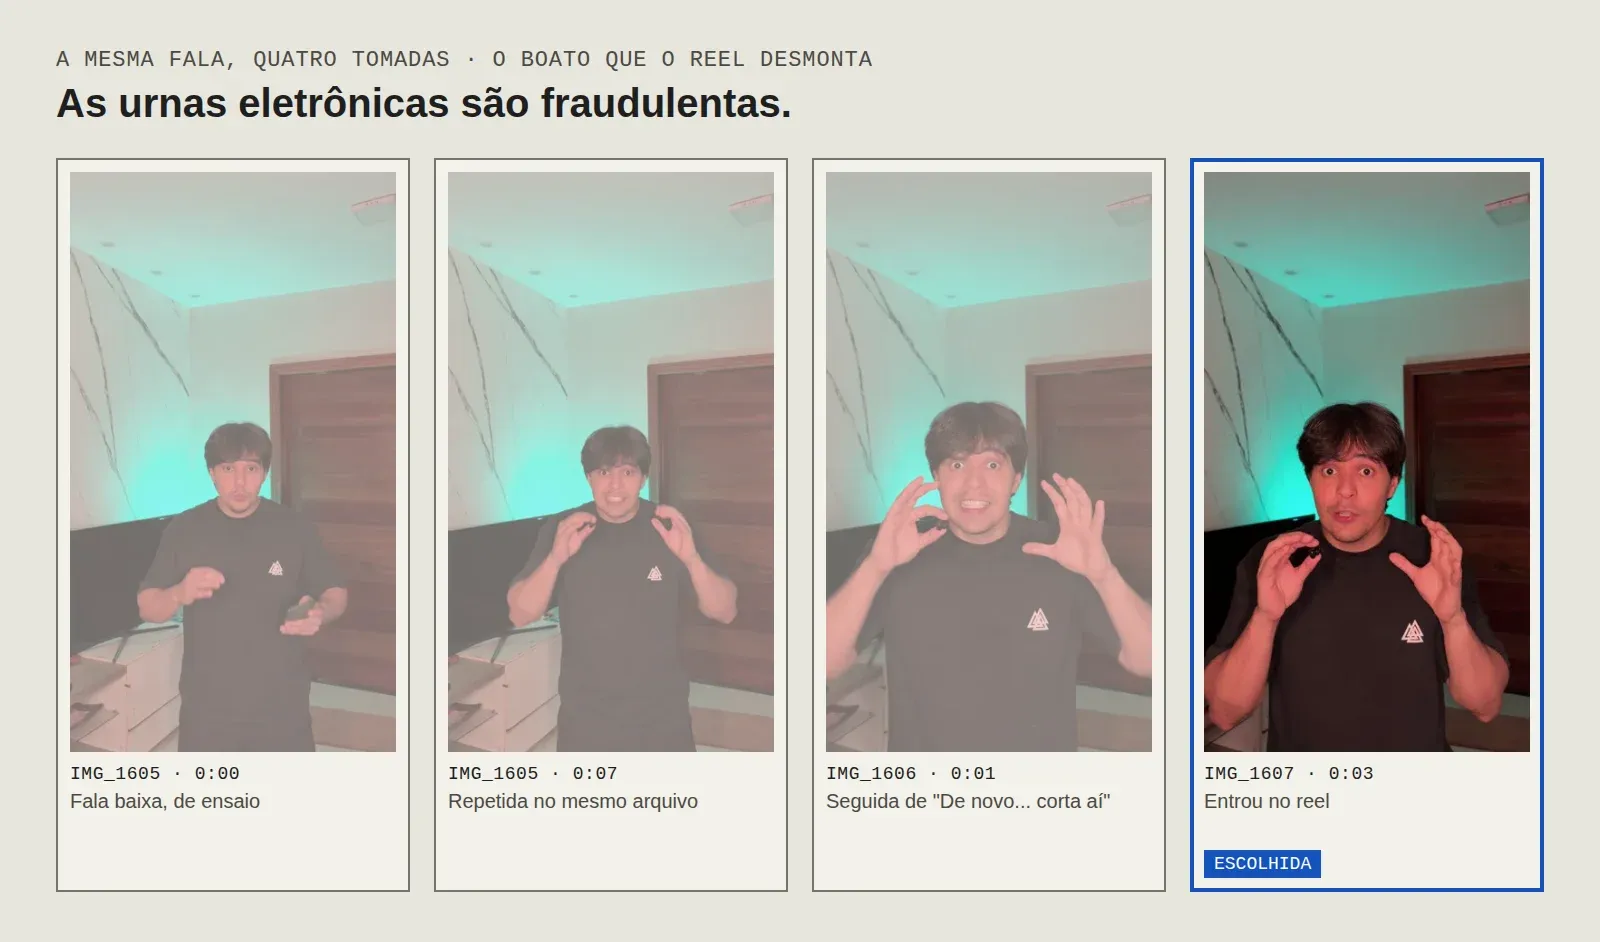
In the first line of a reel of mine about the electronic voting machine, which debunks that rumor, I recorded the same line four times. The cutting skill kept one:
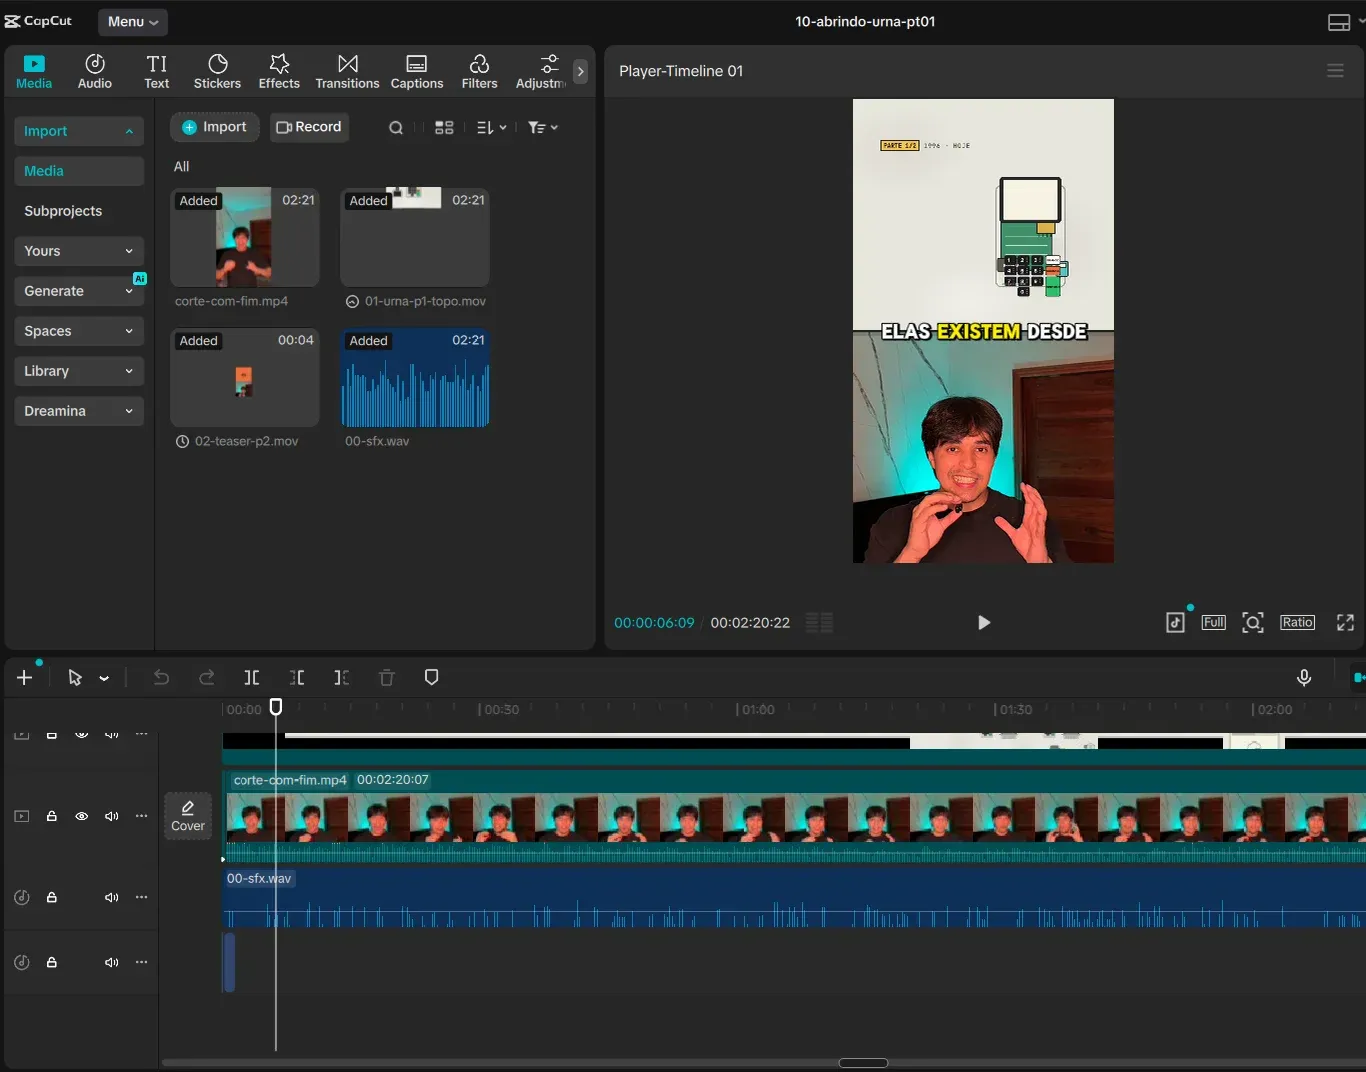
At the end, the finishing skill delivers the project assembled in CapCut, with the recording, the scenes and the sounds on the timeline. I just open it, tweak what I want and export:
Install
You don’t need to do any of this by hand. Open Claude Code and ask: “install the eusouosalmo skills with npx skills@latest add eusouosalmo/skills and everything they need to run”. Or click “Copy for AI”, at the top of this article, and paste it into Claude Code: it follows the steps below on your computer.
What you need on your computer:
- Node.js, to run the installer
- ffmpeg
- a Whisper with word timestamps (faster-whisper or whisper.cpp), to transcribe the recordings
- Python with Playwright, to build the scenes
- CapCut desktop, only if you want the reel as a CapCut project; the finished mp4 doesn’t need it
You don’t need to install everything up front. The first time, the animation skill checks what’s missing and shows the command for your system.
-
In your computer’s terminal (on Windows, PowerShell), run:
npx skills@latest add eusouosalmo/skillsThe installer asks which skills you want and for which agents. For reels, you don’t need
skill-forgeorgit-guardrails, which are for engineering. Use the space bar to mark each one and Enter to confirm: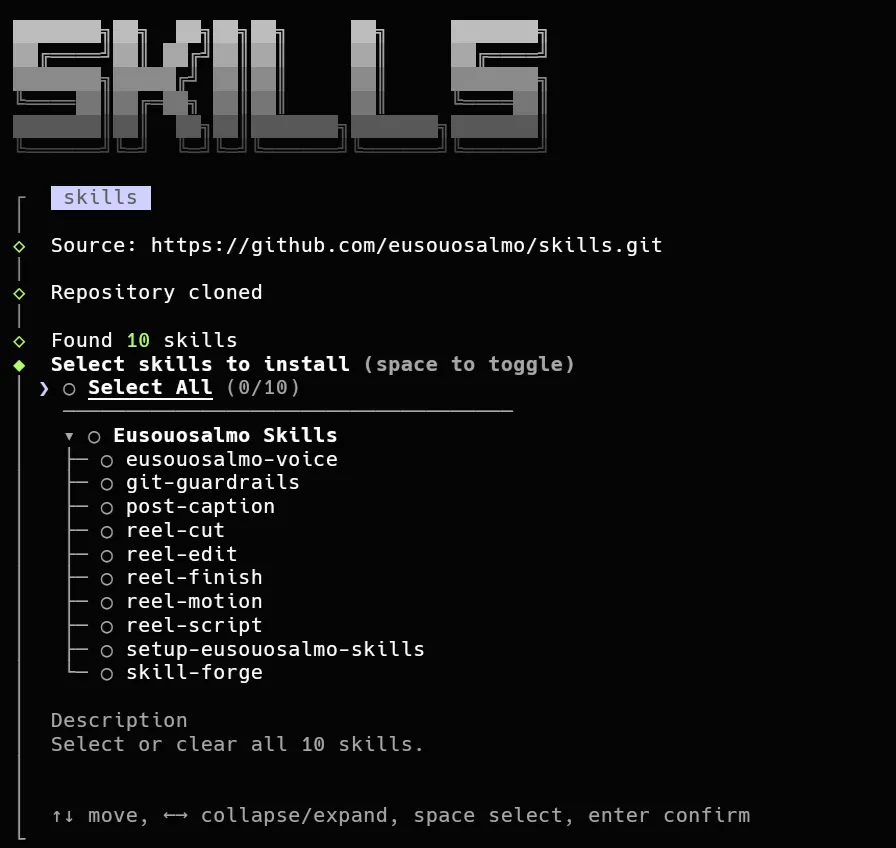
The installer lists the repository's skills for you to pick. -
In Claude Code, run
/setup-eusouosalmo-skillsonce. It finds your folders (reels, scripts, style, CapCut) and saves the paths, so no skill asks again. -
Ask in plain language, for example: “cut the raw clips in this reel’s folder and drop the bad takes”.
From script to finished reel
This is the path I follow for every reel:
-
Write the script. Ask the script skill, starting from your notes. It delivers the teleprompter text already timed and, for each block, what shows on screen:
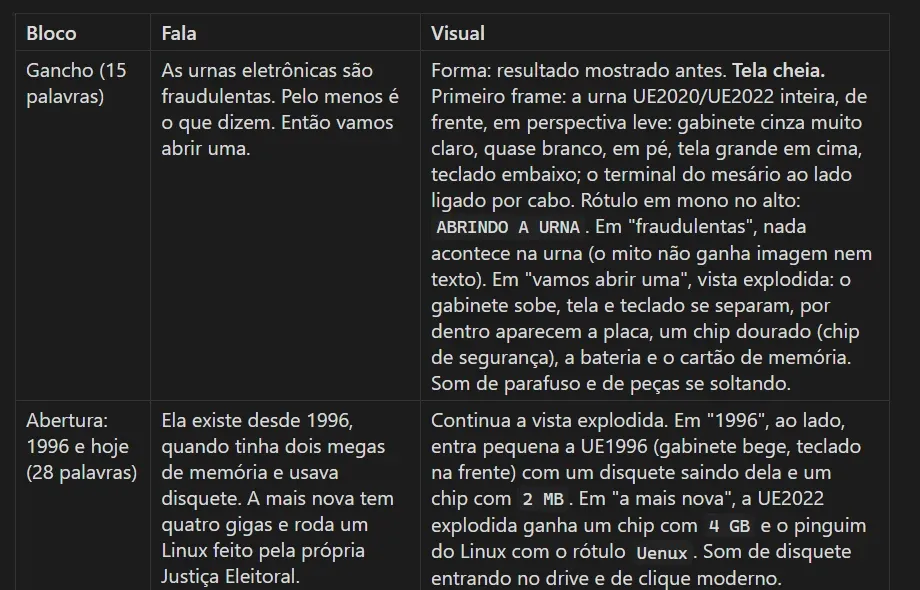
The start of the voting machine reel script: the line and what shows on screen in each block. -
Record in order. Record vertically, following the order of the script, because the recording order becomes the video order. Repeat each sentence until it comes out the way you want. Messed up? Say “cut” and start the sentence again. The cutting skill separates the takes from the backstage talk, so you can talk to whoever is filming between takes.
-
Put everything in one folder. One folder per reel, inside your reels folder, with the raw recordings and the script. I keep the raw clips in a
brutossubfolder, just as they come off the phone: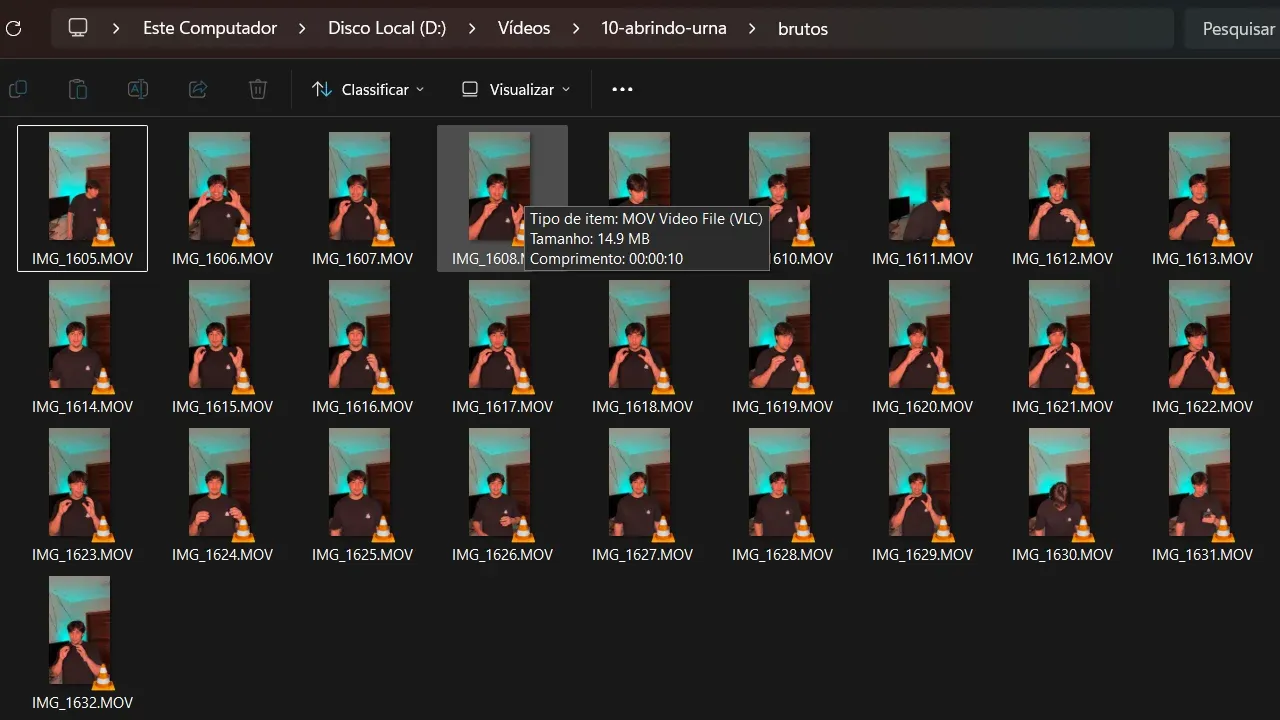
The 28 raw clips of the voting machine reel, in a subfolder of the reel's folder. -
Using CapCut? Create an empty project in it and close the app before asking for the edit.
-
Ask for the full edit:
Edit the reel in the folder [folder name] end to end. The script is in the folder. I want the CapCut project.
-
Approve at the stops. The agent stops at three points: the takes table, the scene plan and the scene preview. Nothing is rendered before you answer.
-
Open, tweak and export. Then ask for the post caption: “write the post caption for this reel”.
If the session drops halfway, no problem: the edit logs its progress in an edicao.md file inside the reel’s folder, and a new agent picks up where it left off.
Make the workflow your own
The workflow comes with my way of speaking and editing. The idea is for you to swap mine for yours, on three fronts.
Your voice. The eusouosalmo-voice skill is the way I speak and write. Use it as a model to create a skill with your voice, otherwise your script comes out sounding like me. Gather a few texts of yours, like captions you’ve already posted or the transcript of a video, and ask:
Use the eusouosalmo-voice skill as a model and create a skill with my voice from these texts of mine. Keep the same structure and replace the examples, the expressions and the rules with mine.
[paste three to five of your texts here]
Your visual identity. The scenes follow the colors and fonts of a design system, and the final assembly copies the editing style of one of your CapCut projects: the intro, the sounds, the zoom and the captions. Tell it which ones are yours:
These are my brand’s colors and fonts: [colors in hex and font names]. Use these colors and fonts in the scenes of my reels. And use my CapCut project called [project name] as the editing template: intro, sounds, zoom and captions.
Your taste. When the animation skill delivers the scenes, it asks what you thought. Every reason you give becomes a rule in a style file, estilo.md, and it holds for every video after that. One of mine: I asked to see the frames of each scene before generating the video, because fixing a still image spends far fewer tokens than redoing the animation. Today the skill always does that. This was the scene preview for the voting machine reel, approved before the render:
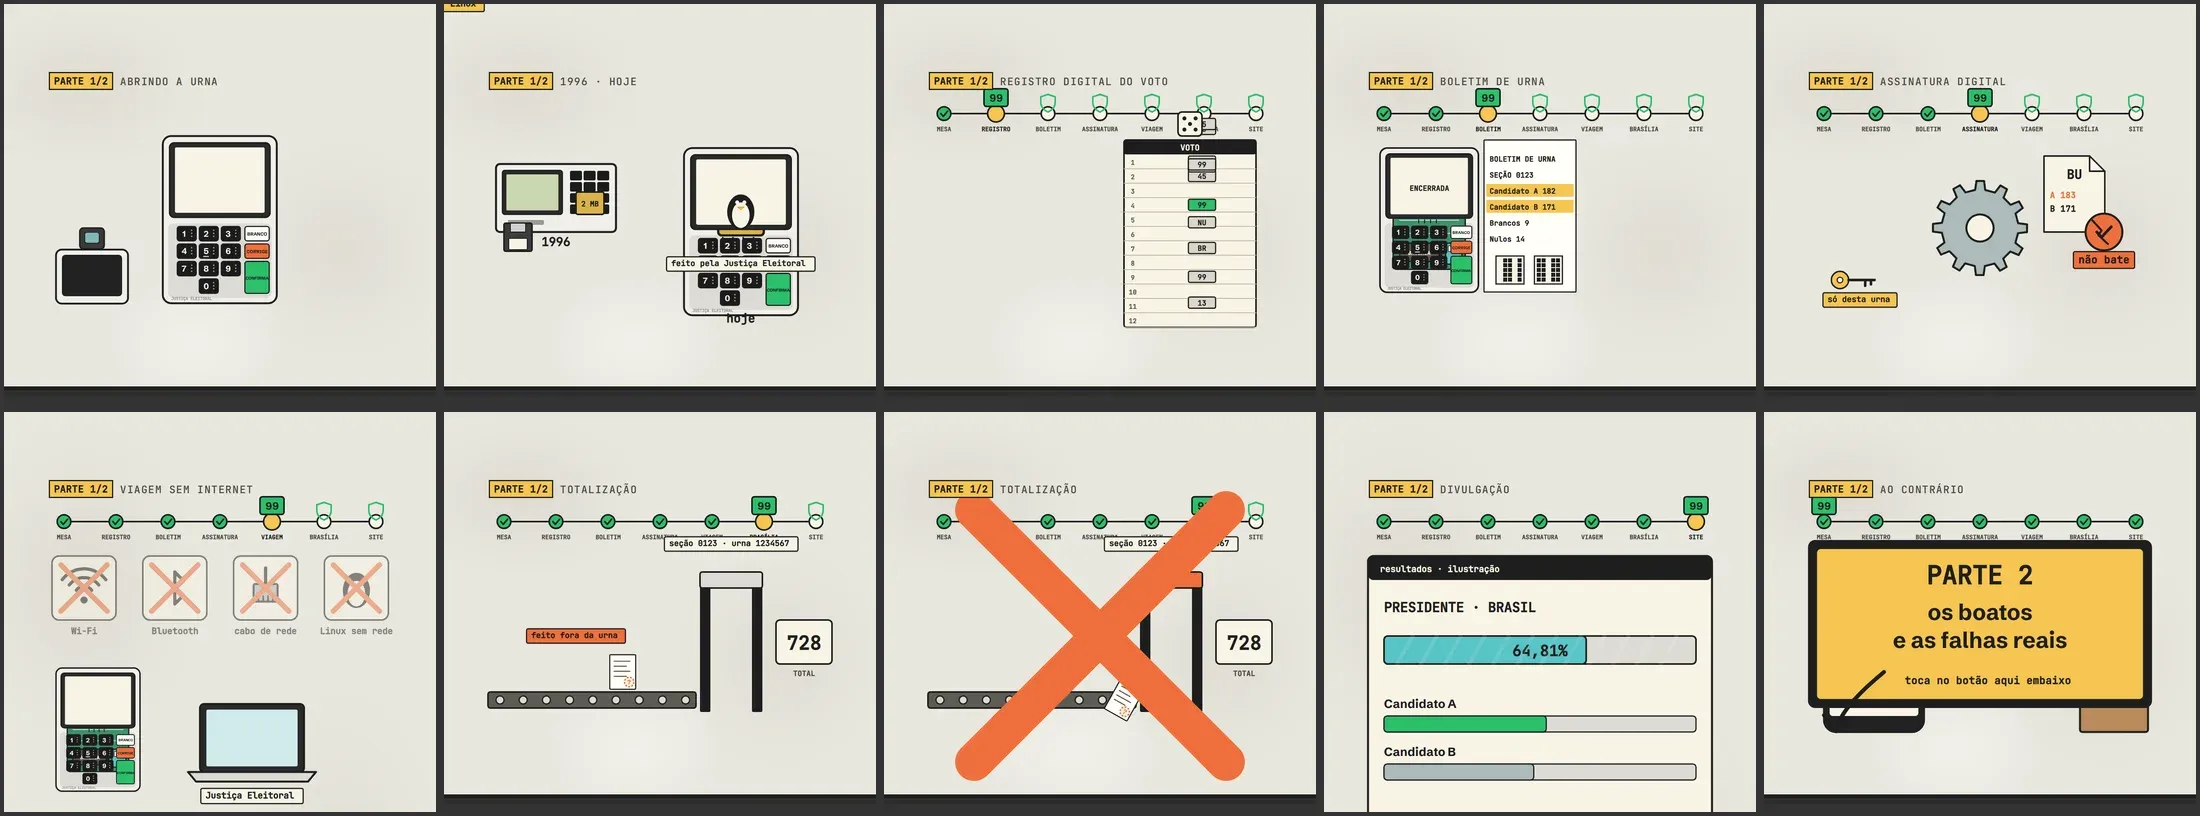
Other examples of what you can say:
- “Never cover my face with animation.”
- “On-screen words come in lowercase.”
- “My logo shows up only in the last second.”
Your file starts empty and becomes more yours with every video.
Today
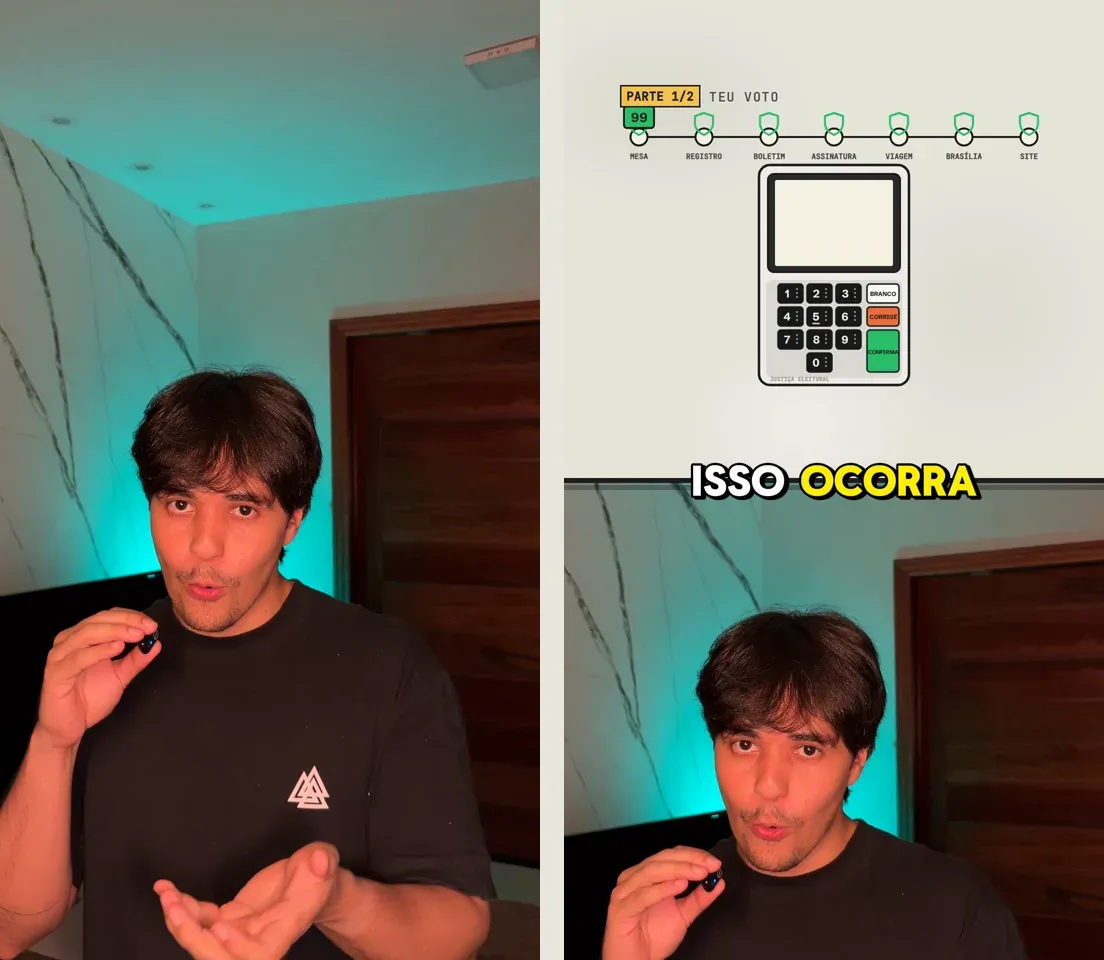
Today I no longer explain the process for every video. I ask, approve what the skill shows me, and every correction is saved for the next one. This is the difference in one of my reels, at the same instant, before and after the workflow:
All the skills are in the eusouosalmo/skills repository.